
Hello scrappy peeps!! Onto day two of Ribbon and Ring binding systems. :)
The tools you are going to need for this are similar to the ones used for the ribbon binding. The only thing different is instead of using ribbon we are going to be using binder rings.

You can purchase these at your local stationery store. They come in several different sizes to accommodate different thicknesses of albums.
You can use these as is or if you want to spice things up you can paint them with nail polish. When you do this the pages slide a little easier.
First you are going to want to mark where your holes are going to go on your pages and your album cover. Like in the previous post you can eye ball the placement or like me do one quick measurement. All the measurements I am giving are based on a 6 inch album cover.
I will be using 2 binder rings but you can adjust your measurements to add 3.
First we are going to mark 1 1/2 inch from the top and bottom of your pages.
 
and about 1/4 to 1/2 inch in from the edge of the page and punch your holes.
  
Using this page as a template line up each additional page and trace the holes and punch.
 
Take one of your pages and center it on your chipboard cover.

Trace the holes onto both the front and the back covers.

Punch the holes
 
Stack the album covers and the pages in the order that you would like them and put your binder rings through the holes. Make sure the joint in the binder ring is outside the album. Your pages will turn easier and it is easier to hide with ribbon.
  
For a little added touch you can tie several coordinating ribbons to the rings.

If you don't have binder rings you can use pieces of ribbon in place of the binder rings. Ensure that you leave enough space when you tie the ribbon to allow the pages to turn. :) In my example I only have a few sheets of paper so the space in the ribbon seems exaggerated. Once you have more pages with pictures and embellishments it will fill in the space in the ribbon. I just wanted to make sure you leave enough room for your pages to turn easily.
 
If you have any questions about this post or any other post be sure to let us know.
Thanks for stopping by!! :)
Happy Scrap'n!!!
 |
Wednesday 26 November 2014
Mini Monday Part 2 - Binding Systems
Monday 24 November 2014
Mini Monday - Ribbon and Ring Binding

Hello everyone. :) We are moving on from covering your album to different forms of binding systems for your mini albums. There are a ton of different options out there. We are going to go through a few of the ones that we use on a regular basis.
Today we are going to discuss Ribbon and Ring Binding. This is by far the easiest and quickest way to bind a mini album.
Here are is an example of what a Ribbon Bound book looks like.
 |
| This is the outside of the album |
 |
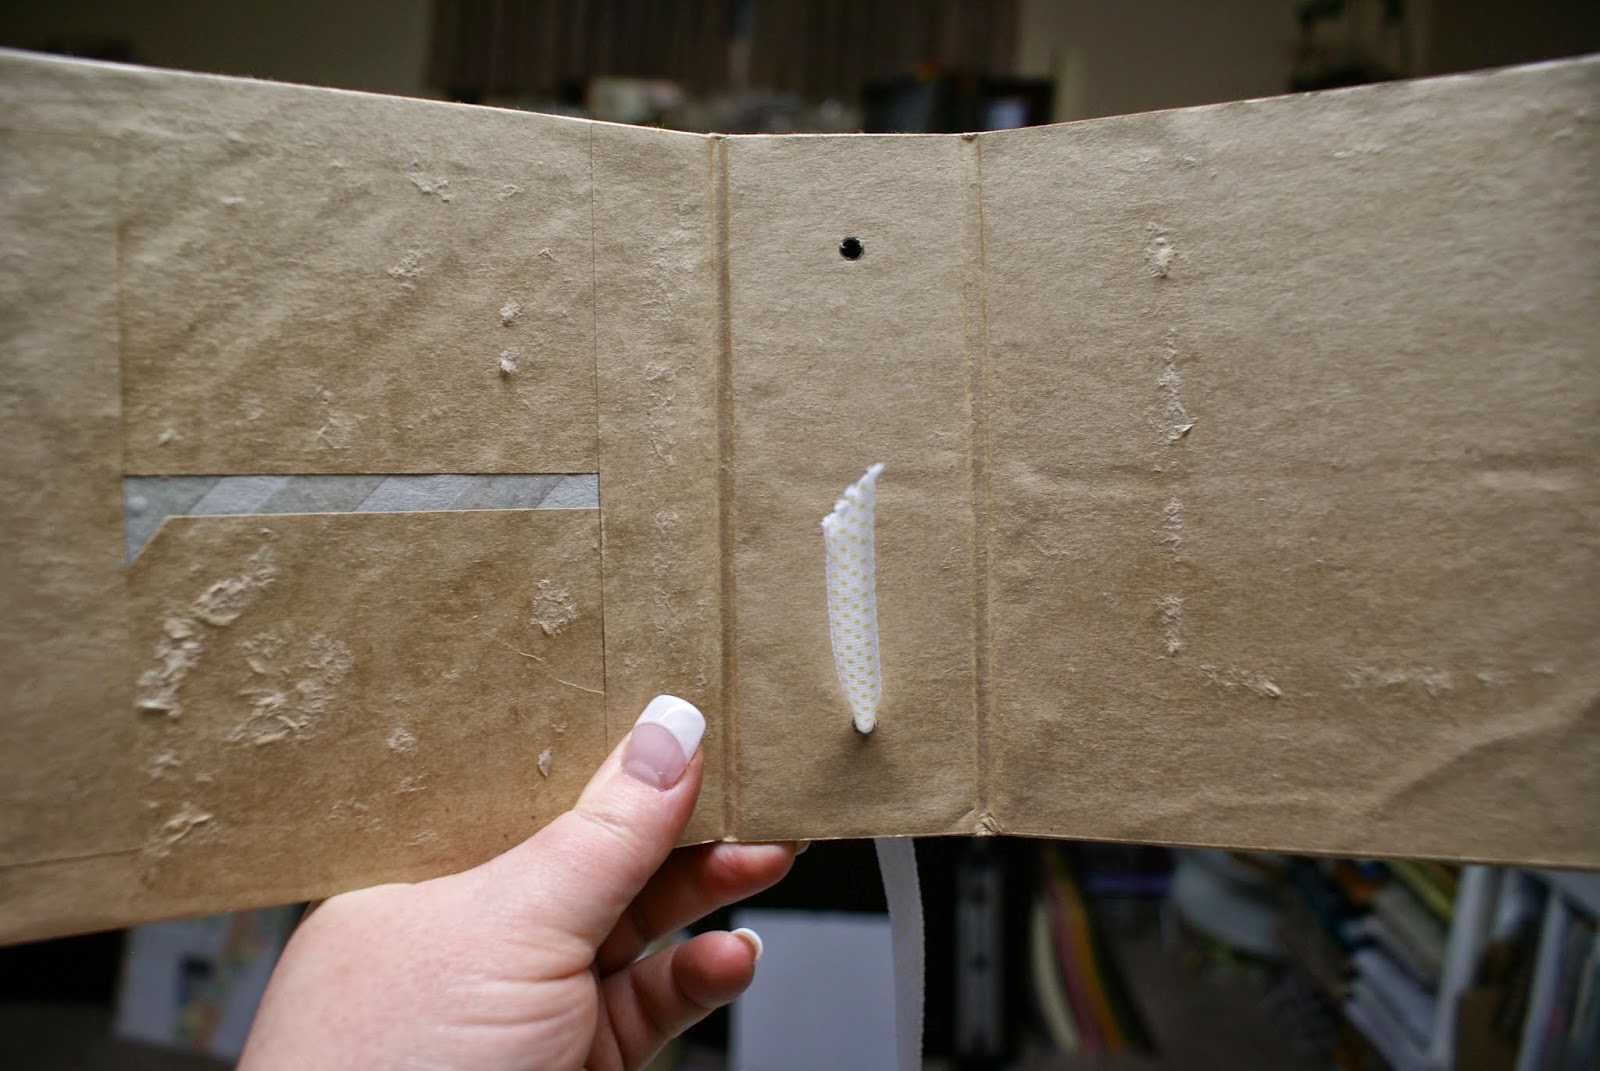
| This is the inside center of the album
This type of binding adds a little wow factor to the spine of your album and the ribbon lays flat on the inside of the album, making the pages turn nicely.
There are not a lot of tools you will need to create this binding. Basically all you need is the following:
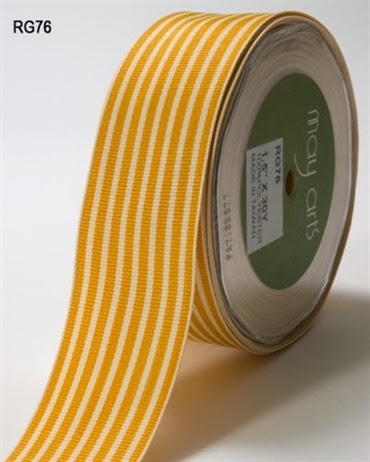
Ribbon of course
There is no shortage of this in my craft room. LOL
 
The ribbons above are a nice size for this type of binding. They slide through the holes we are going to punch with ease. This is not to say that you can't use a larger ribbon like the one below. You will need to punch a larger hole in your pages and spine to allow for the extra bulk of this type of ribbon to thread easily.
A hole punching tool. There are several different options out there. We R Memory Keepers has a couple tools that are great for punching holes through heavy paper like chipboard.
This one is called a Crop-A-Dile. This is a multi-purpose tool and can punch holes in two sizes and set eyelets. However it's reach is not very long. What I mean by "reach" is you can only go in about an inch from the edge or your page.

The Big Bite solves the reach issue and is also a multi-purpose tool (punches holes and sets eyelets).

These tools are nice to have but are another investment you would have to make. They run anywhere from $30.00 to $50.00.
We do have a less expensive alternative and you might already have one hanging around your house. :)
Just a regular old hole punch will work fine. You may have to put a little extra muscle behind it to get these stationary type products to go through thicker materials like chipboard but they will work. Again the reach of this tool is not very big, only approximately 1 inch.

You can use 2 and 3 hole punches that you would find in a stationary store, but remember the space between the holes is fixed. These may not work on all mini albums.
 
Lets move on to the actual binding. First you will need to create your cover and your pages. The cover can be one that has a spine or just two separate chipboard pieces.
Cover with a spine

Cover - Two separate pieces

Ribbon Binding
The first holes we are going to punch are in our page assemblies. You want the holes to be a least an inch from the top and bottom of your page assembly, if your holes are too close to the bottom of your page assembly you run the risk of having them tear. One inch is the max space that most stationary hole punches and the cropadile will accommodate. You should have at least a 2 1/2 to 3 inch inch space between the holes, if your holes are too close together your mini album pages are going to flop around inside your cover.
These dimensions are based on a 6 inch book. If your book is larger the space between the holes should be larger or you can add extra holes to make sure everything is secure.
Now you can eyeball where you want the holes to go and this will work just fine. But for those of you who are a little more like me...LOL...you can measure to find the placement of the holes. You will only have to do this once.
All you have to do is measure 1 inch from the top and bottom of your page assemblies and make your mark.
  
Then just punch the holes.
This is the Cropadile

This is a regular hole punch
 
Once you have this step done you can trace the holes from
your first page assembly onto the remaining ones. To do this line up the pages and simply trace the holes and punch.
   
After you have all of your holes punched in your page assemblies stack them together and center them on the spine of the cover. You are now going to trace the holes onto the spine. Remove the pages and punch your holes.
     
The amount of ribbon you will need will depend on how large your book is. For a 6 inch book we us about 12 inches of ribbon.

Cut one end of your ribbon at an angle. This will make it easier to thread the ribbon through the holes if you don't have a needle.
You can thread your ribbon through a needle, if you don't have a needle you can wrap the end of the ribbon through a bobby pin (one of the ladies in a class we held did this and it worked like a charm). If you don't have either of these available, no worries they aren't going to make or break the project.
Thread the ribbon up through the bottom hole of the album cover.
Thread the ribbon up through the bottom hole of all of the pages.

Thread the ribbon down through the top hole of all of the pages and the spine of the album cover.

Tie the ribbon in a bow or not on the outside of the album. Do not pull the ribbon too snuggly, your pages won't turn very nicely.
 
An you are done. :) You can tie a few extra ribbons to add a little extra wow...you could also tie some trinkets to the ends of the ribbons as well.
I used 12 inches of ribbon in this tutorial so if you want to tie a bow I would use 18 inches of ribbon. This will give you plenty of excess to tie the bow.
Whew!! This is turning into a lengthy blog post so I am going to split it into 2. I will publish the Ring Binding system on Wednesday. :)
Thanks for stopping by and remember we would love to hear from you. Pop over to FaceBook and let us know what your favorite binding system is.
|
Subscribe to:
Posts (Atom)