
Hello everyone!! It is time for another Mini Monday. This time we are going to talk about using Tim Holtz Binder Rings.

These are handy little stationary type products that are super easy to use. They come in two different sizes and are very economical to purchase. This rings make binding a mini album with a closed cover a breeze.

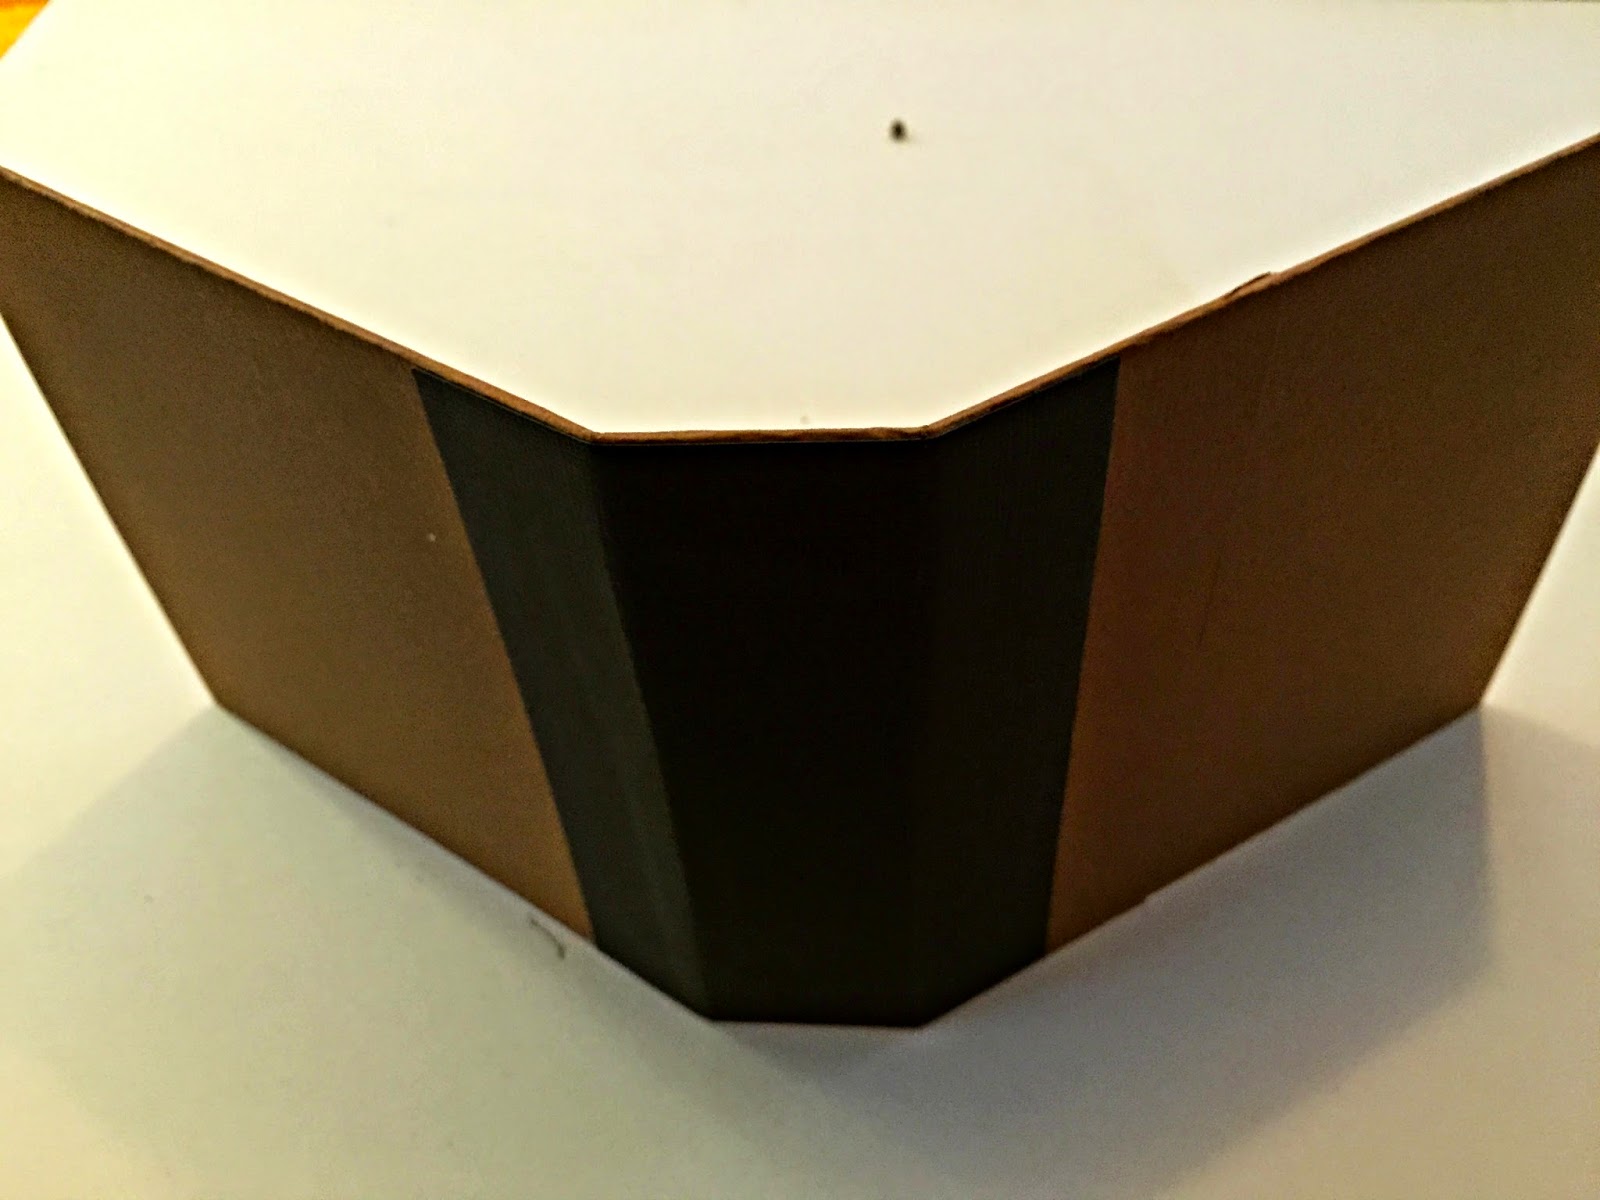
After you have created the cover for your mini album you are going to want to find the center of your spine and draw a line from top to bottom.


Once you have marked the center of the spine line up the Tim Holtz binder ring on that line. Make sure you are centered from top to bottom and side to side.
Now that you have the placement you can go ahead and mark the holes for the brads.

Then go ahead an punch your holes.

Line your Tim Holtz binder ring up with the holes you punched and attach it with the brads.


The prongs of the brads are going to show through on the front side of your mini album cover but we are going to show you how to hide those. :)

You will need to cut a coordinating piece of cardstock the same height as your mini album cover. The width of the cardstock should be the width of your spine plus 2 inches. You can make it wider if you like. Depending on the look you are going for.
Once you have the covering piece cut apply Scor Tape.

To ensure there is a good stick between the album and the covering piece add Scor Tape to the spine of the album.


Remove the backing from all the Scor Tape and attach the covering piece to the cover.

To punch the holes in your pages all you have to do is center your pages in the album and make the hole placement with a pencil. And punch! Easy Peasy!!! :)


Thanks for dropping by!!
Happy Scrap'n

No comments:
Post a Comment